Christmas is almost here and I want the holiday to be very special for my kids, as any mom would. I have fond memories of spending time with family over the years, but also sharing holiday meals together eating some special foods that we seemed to only eat around the holidays and looked forward to every year. I am experimenting with different holiday recipes in the lead up this year, most of which are from my family’s personal recipes, and I am adapting them to be gluten free and dairy free. The first is Gluten Free Cranberry Orange Bread. It makes a great snack or dessert, though beware it is so good you really can’t have just one slice! I love that it has a sweet and tart component, and I think children and adults alike will appreciate this recipe.
This recipe makes two loaves of cranberry orange bread and is both gluten free and dairy free.
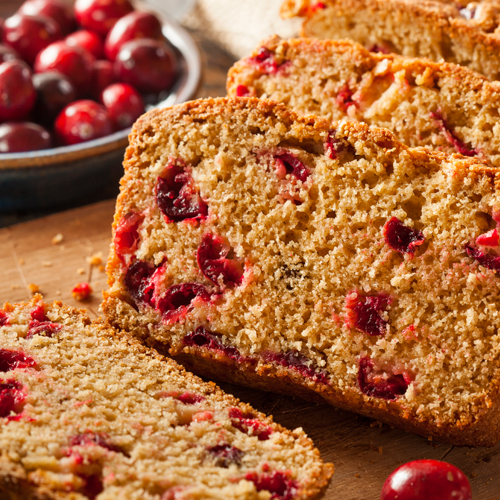
Gluten Free Cranberry Orange Bread
Ingredients
- 4 cups all purpose gluten free flour
- 2 cups coconut palm sugar or brown sugar
- 3 tsp baking powder
- 1 tsp baking soda
- 2 eggs
- 4 tbsp coconut oil
- 2 cups cranberries many recipes say to slice, but they pop when they’re cooking so I don’t see the need
- 1 tbsp orange zest
- 1.5 cup orange juice
Instructions
-
Preheat oven to 350 degrees.
-
If you are not using a non stick baking loaf pan, then be sure to lightly grease your two loaf pans with coconut oil to prevent sticking later.
-
Combine eggs, sugar, oil, zest, and orange juice in a stand mixer or use an electric beater.
-
Mix the flour, baking powder, and baking soda together in a separate bowl.
-
Slowly add the dry mixture into the bowl with the wet ingredients and mix until well combined.
-
Add the cranberries and fold them in with a spatula until they are evenly spread out.
-
Pour into loaf pans and use your spatula to smooth out the top.
-
Bake for 60 minutes.
-
Remove from heat and let it cool for 15 minutes.
-
Flip the pans over onto a cooling rack (they should come out nicely, but if you have difficulty, try using a knife around the edges first and then try flipping again).
-
Flip them back so they're right side up and let them finish cooling.
-
Serve and enjoy!
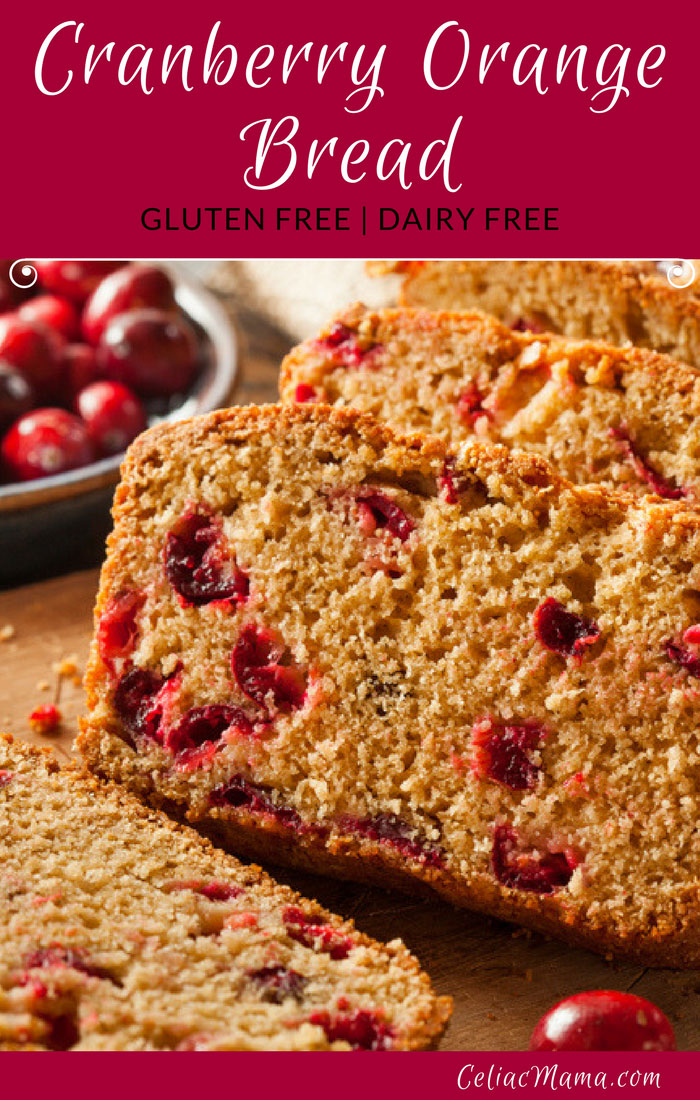
Pin for later:


Leave a Reply
You must be logged in to post a comment.