Would you believe me if I told you that you can decorate a bunny cake to look totally adorable in under 5 minutes? Well, it’s true!
I share a lot of recipes here, but today it’s not about the recipe, it’s all about the decorating.
Let’s start with the supplies. You’ll need:
- bunny cake pan
- your favorite gluten free vanilla cake mix (or you can use my vanilla cupcake recipe) and ingredients
- white and pink frosting
- two piping bags (or ziploc bags)
- a decorating tip that makes flower or star shapes
- jelly beans, and
- a piece of gluten free spaghetti
Seems like a lot, but actually reading that and making the cake is the time consuming part.
The decorating is super easy. Let me tell you how.
How to Decorate a Bunny Cake
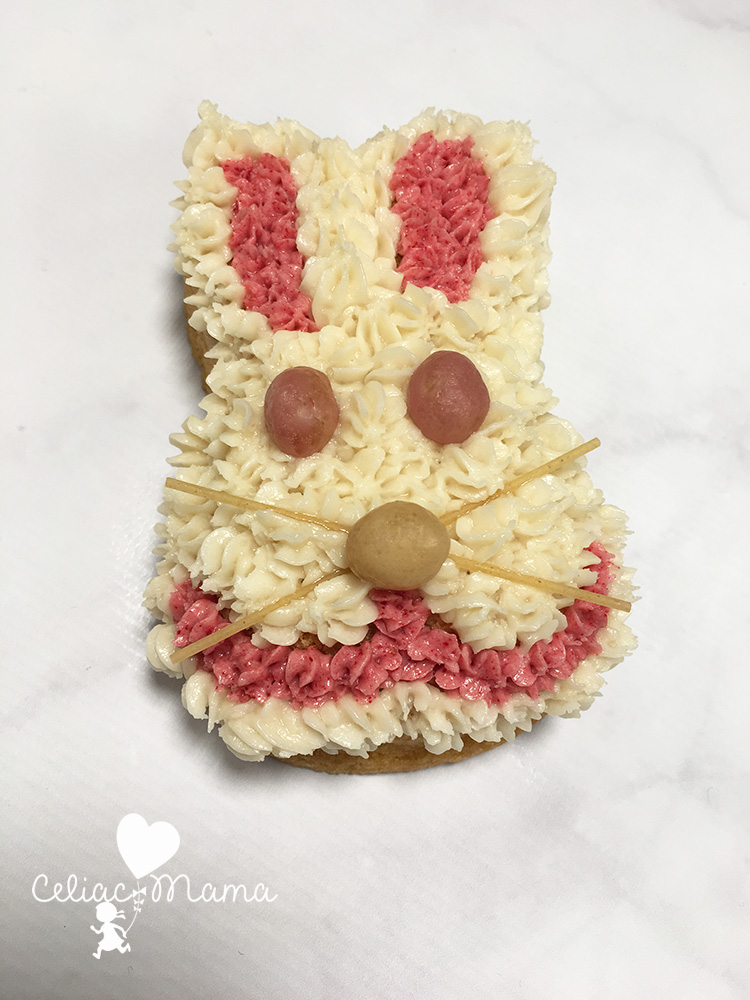
- Let the cake completely cool.
- Take your vanilla frosting and separate it into two bowls.
- Add pureed freeze dried raspberry to one and mix it until you get the bright pink you’re looking for. Freeze dried strawberries work well too.
- Get two piping bags (or plastic bags), add flower or star decorating tips (I like #16 but any will work) and cut off the corners of the bags so that the tips stick out.
- Fill two piping bags with frosting (one white and one pink).
- Start by filling in the ears and mouth with the pink frosting.
- To frost, press the tip against the cake, squeeze and release straight up. You’ll see a flower or star shape and then you’ll repeat next to it until the whole area is filled.
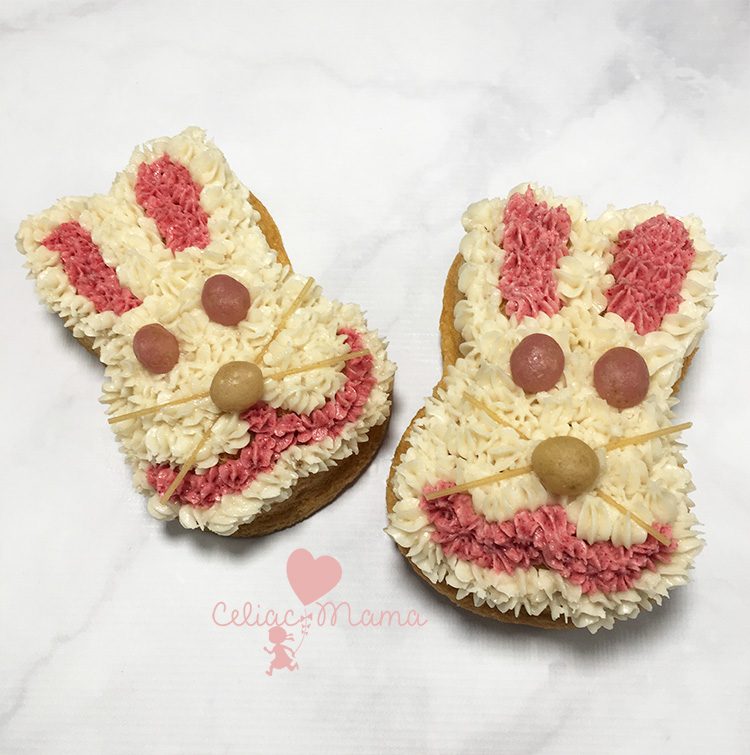
- Next, take the white frosting and trace the edges first with the same technique, and then fill in the inside of the bunny’s head until it’s totally covered with frosting.
- Add two jelly beans for the eyes.
- Break a piece of gluten free spaghetti in half or thirds (depending on your bunny cake size) and criss cross them to make the whiskers.
- Add a small amount of frosting to a third jelly bean and stick it on top of the whiskers to make the nose.
- That’s it! Enjoy the smiles you’ll get when people see your adorable bunny cake!
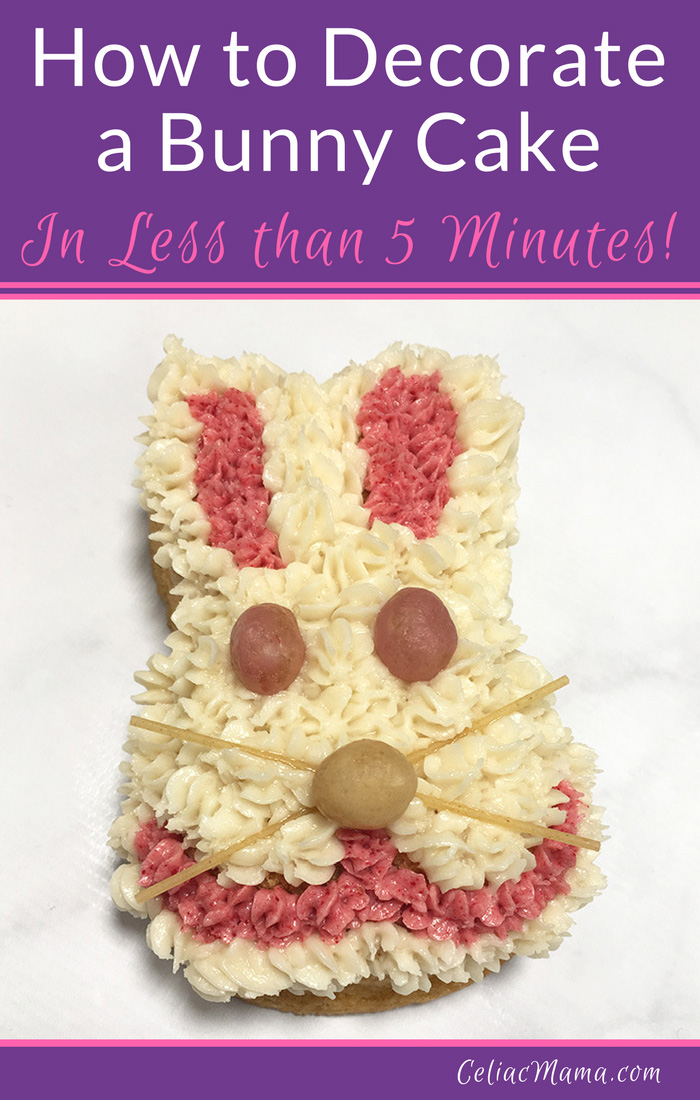
Pin for Later:





Leave a Reply
You must be logged in to post a comment.