I really enjoy doing arts and crafts with my kids – it’s a fun way to spend time together and make keepsakes. We especially like doing holiday themed crafts, which is why I post easy toddler friendly DIY craft ideas prior to most of the holidays. There’s never a lot of planning in advance, but as the holiday approaches we all get excited and try different crafting projects. Then if I find one or a few that are a big hit, I share them with you so that you can enjoy the fun too.
This year for Easter, we wanted to make our own decorations. I’d already had several pictures my daughter made at school up on the wall and some my son had created at home. Now, we needed something for the table. I thought that it would be fun for the kids to make something that they could be proud seeing their “work of art” displayed as the centerpiece for our Easter meals. So, I started searching online for inspiration and found this adorable idea for an Easter Egg Bouquet from Ms. Not So Perfect.
Plastic Easter Egg Bouquet
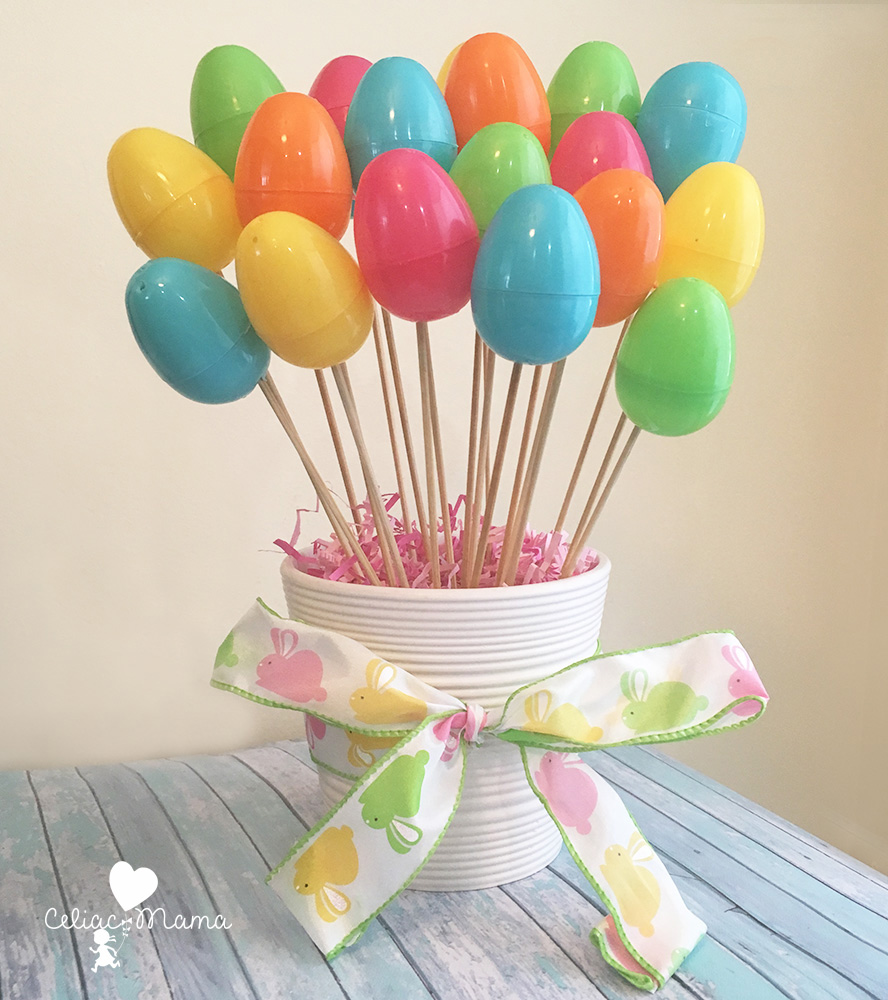
Have you ever noticed how all of the plastic Easter eggs have two holes on the top and bottom of them? I’ve often wondered why and hadn’t found any use for them until now. They actually have a use in this arts and crafts project!
The Easter Egg Bouquet was quite simple to create and the best part was that I had almost all of the supplies in our house. I’d already purchased plastic Easter eggs, I have extra unused flower pots at home, and I have wooden barbecue skewers as well. So, the only thing I needed was some foam to put in the bottom of the pot to make the wooden barbecue sticks stay in place. One trip to the craft store and we were all set. While I was there I grabbed some festive ribbon to tie around the flower pot too.
My four year old daughter had an easy time placing the skewers into the egg holes and arranging them in the pot. My two year old son also had an easy time placing the skewers into the holes, but I supervised closely since they’re pointy on the end and I didn’t want him to get hurt.
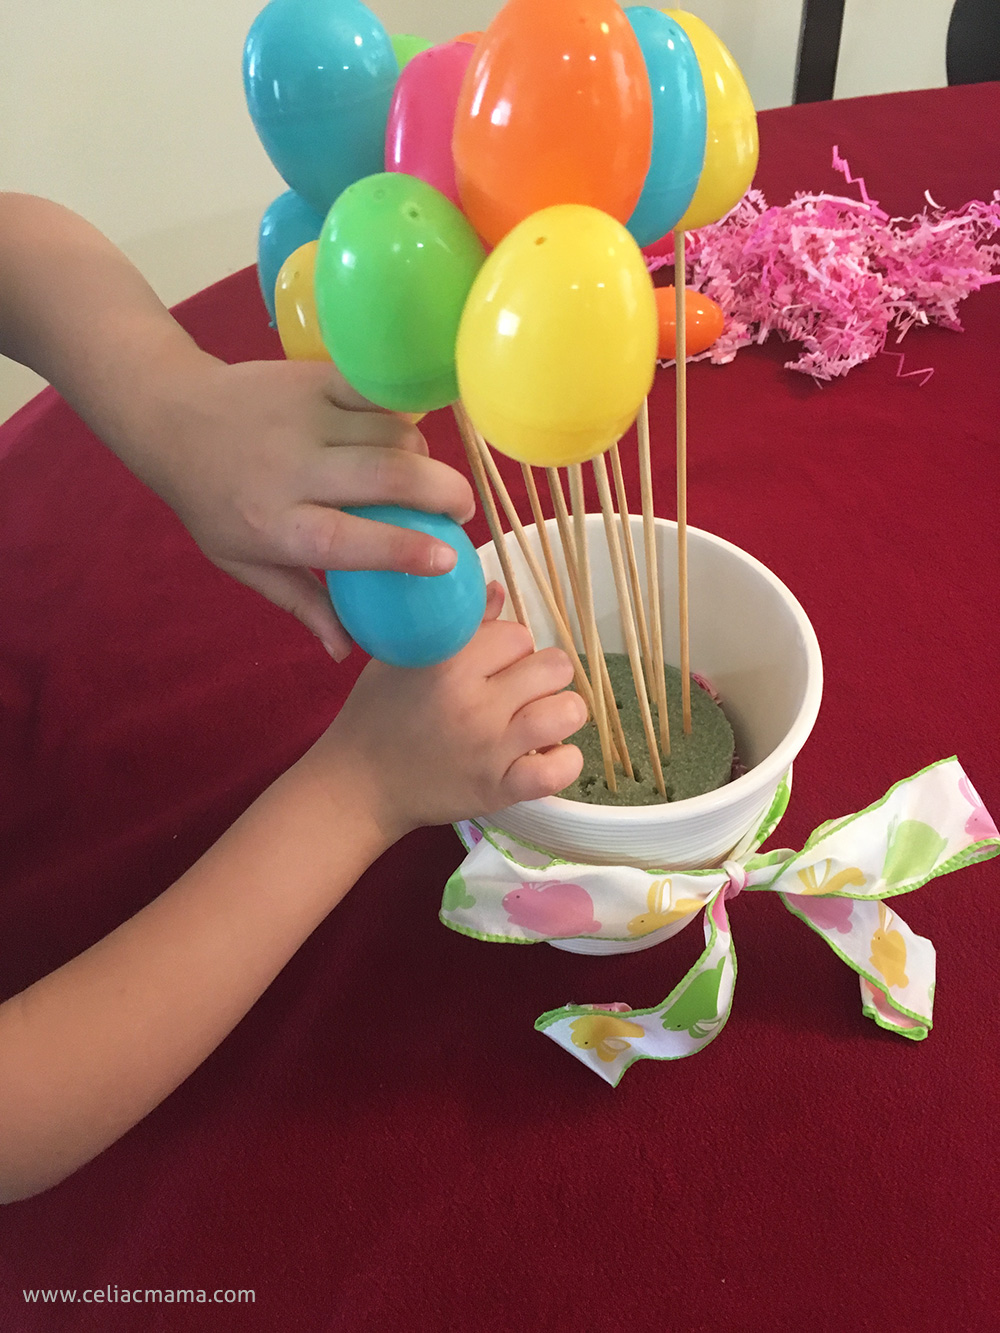
Here are the simple steps to make your own Easter Egg Bouquet:
- Close all of the plastic eggs.
- Place the styrofoam in the bottom of the flower pot.
- Place a wooden skewer into the egg through a hole on the bottom of the egg.
- Push the skewer into the styrofoam and move onto the next egg.
- Repeat until all of the eggs are arranged in the flower pot. If you want to have it look more full, then shorten some of the skewers to give it more of a multidimensional look. Our skewers are easy to snap in half and don’t require scissors, but I did this part for my kids.
- Tie the ribbon around the flower pot.
- Put it on display!
Fun tip for families that include the Easter Bunny in celebrations: The night before Easter after the kids go to bed, place some jelly beans or non-food treats inside the eggs. When it’s time to set the table for your Easter meal, move the bouquet slightly so that your kids will hear something shaking inside. Act surprised and have them see what’s inside. They’ll be so excited to see the “surprises” the Easter Bunny left them. I also have a post on 20 Easter Basket Stuffers that are perfect for toddlers and young kids.
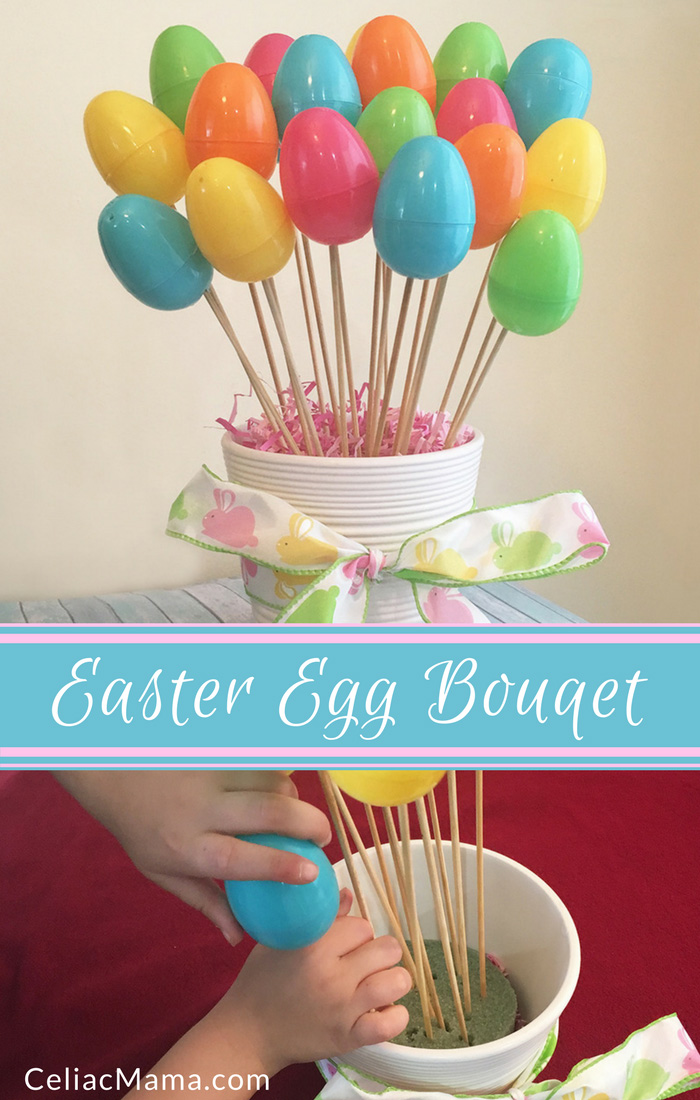
Pin for Later:



Leave a Reply
You must be logged in to post a comment.